How to - Paint scopes (& guns)
I'd like to make a mini-how-to (might not be so mini when I'm done with is :s) on painting
scopes.
I have painted miniatures (games workshop mostly) for about 10-12 years now so I have a
fair grasp of the basics and a few advanced techniques.
I will be using miniature terms when it comes to doing things, but don't worry, everything
will be explained.
So lets get started:
Step 0: Prepare the item (s) being painted.
This might involve washing them in water and some mild soap to get rid of dirt, casting dust etc
(Step 0a: Put on some music - not to loud and nothing fast paced, trust me it will help you
concentrate).
Step 1:
Trimming!
Trimming is the removal of mold lines or excess flash from the molds. You will find it on any
figure or gun. Personally I use a tape knife, but scalpel or just a really sharp knife will
do (BE CAREFUL NOT TO CUT YOURSELF! I know you already know this, but even I cut myself from
time to time...).
Simply put the blade against the mold line and draw it with the direction of where the mold
line is running. You should achieve a good clean surface with a little practice (and learn
how to cheat around it when you can't

)
Step 1a:
Find a comfortable position, I cannot stress how important this actually is!
some like to lean back in the chair and hold the items being painted by hand, some lean forward
some press their palms together to hold things more steady, some use the table to steady their
hands.
Whatever suits your taste, find a position where you don't strain yourself to much. If you have
to hold your breath to keep things still - then you are doing it wrong.
For this how to I sat in about 90 degrees (or a little less slouching over) with my palms
together to keep things steady.
Lighting is also important!
Have at least 1 proper light source, natural light is actually the best, but may be hard to
find
alright lets get to the painting part;
Step 2:
Basecoat
For metal surfaces use black (I'll get back to why later), for any other surface, paint the
desired color that is right in the middle of what you want it to be, or rather the exact
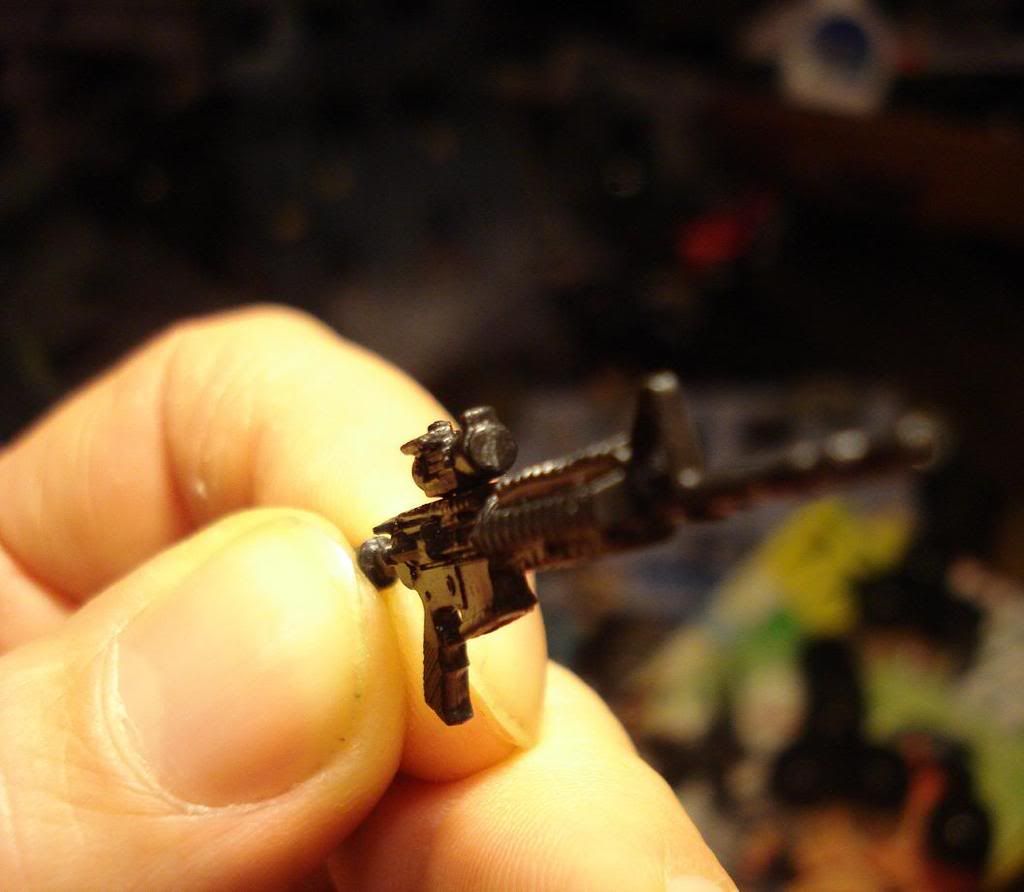
color. For this scope that I've chosen as an example, I'm using red (its a red-dot scope duh!).
I actually painted the gun black first then put on the red. Why? Because with a basecoat the
paint will stick better and blend better later, just putting it on a surface might make it
chip and break eventually. (I am lying here a little bit, I did not paint the pistolgrip of
the gun - Why? Because it will receive the most abuse from figures holding it, paint will chip
there eventually anyways so I figured I would just skip it. - I could have painted it
and after I was finished varnished the whole gun - but seeing as this is the modular m4 from
maurader I'm not going to varnish it the first time around).
Step 3:
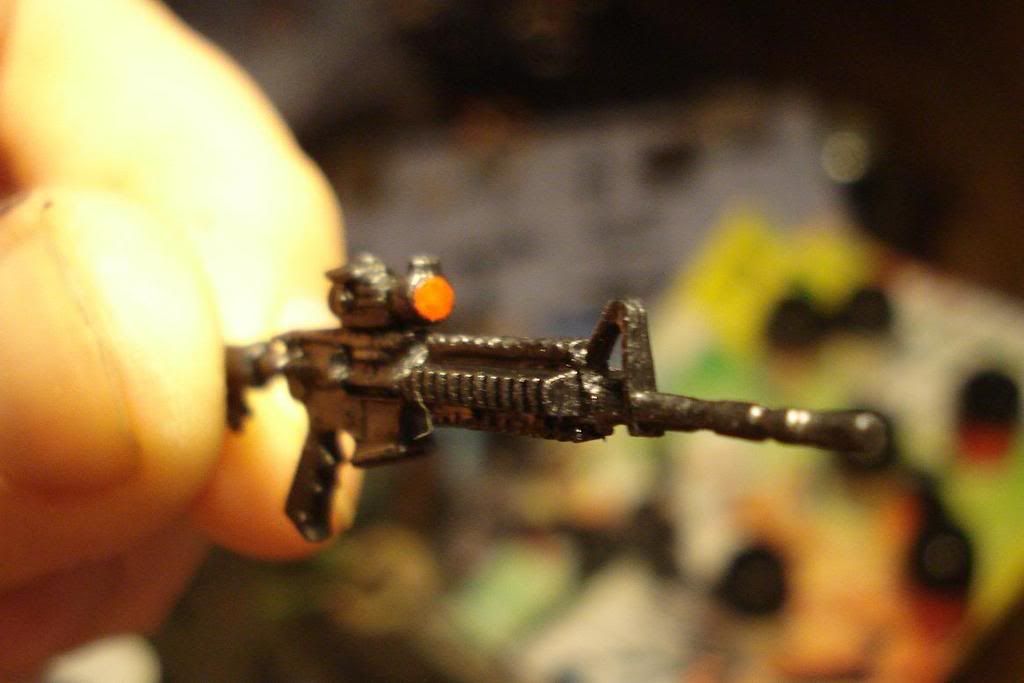
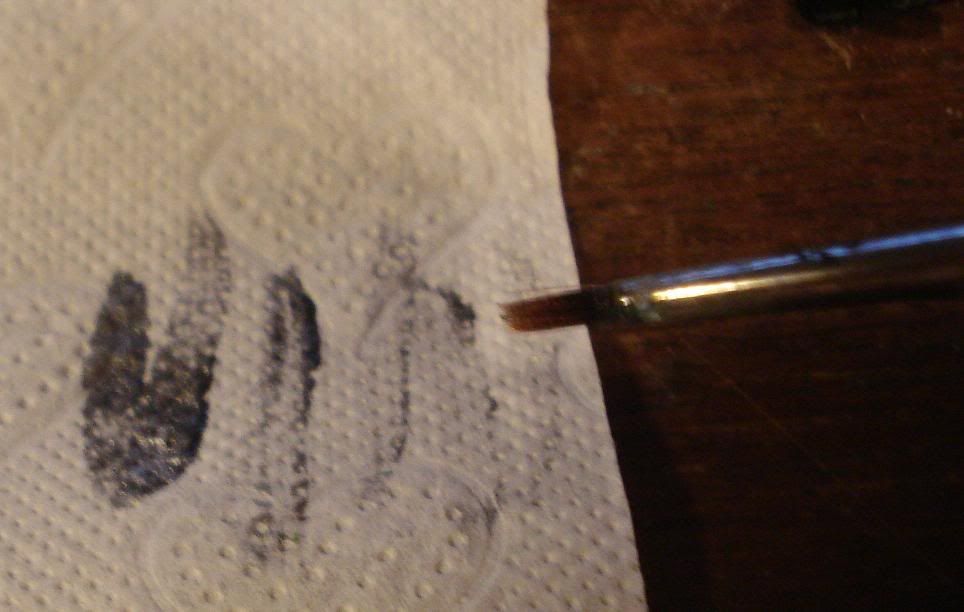
For the metal on the rifle I drybrushed a suitable metal color.
Drybrushing is a technique where you employ a rather large (preferably)flat brush and draw off
the paint on some paper/tissue before you draw it across a surface - this leaves pigmentation
only at the edges of whatever it is you are painting - for models it leaves the black shadow
in crevices where it would naturally occur!
For the scope
Add a darker color of the original on the top of the scope (I'll throw in a picture at the
bottom of this how-to to show you the different levels) - for mine I chose a dark red.
Brown works as well (it has to be a warm brown mind you).
