Here is a shot with the base flooring all done, with some elements in place.
 After this flooring was down, Wifey had a damn good idea, "Why dont you get some roofing shingles to make the ground look like a parking lot?" She is pretty smart. I went to Home Depot forthwith and came back with a pack of shingles for 18 dollars, which is pretty pricey for me on somethink like this. I only had to use a few and still have most of them left. The yardsticks are to show how freaking big this turned out be.    |
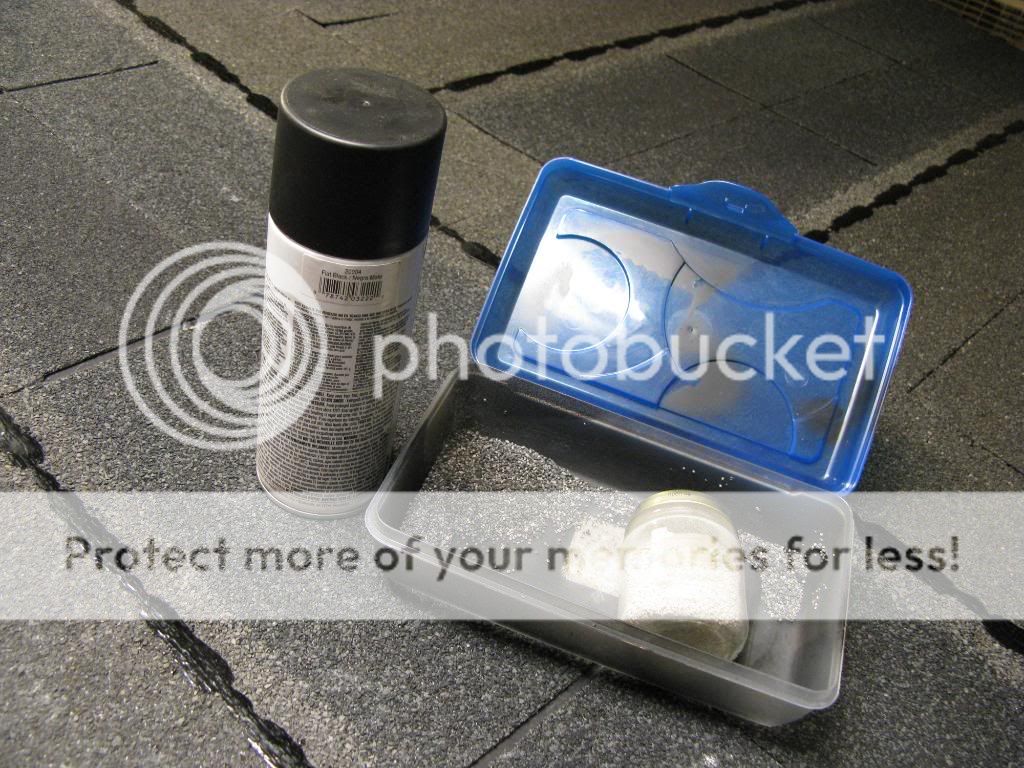
The asphalt presented a problem, big gaps in places because of the way they are made. I used my little white rocks from the train days. I spray painted them inside of a box and then shook it up. This took several applications and then used spray adhesive to hold them down. After a few more apps of black paint, and then spraying down the shingles, it blended well enough and looked real enough for me. On a side note, open your garage door when you spray paint inside of it. Trust me, do not skip that part.
  |
Here we have the heli-pad. It is an extra shelf from the metal shelving units that were liberated by the forces of freedom from the evil clutches of an unnamed corporate entity and was originally light blue. It got painted olive Krylon. I made big "H"s after doing a little research on how a helipad is supposed to be laid out. Did you know the H is supposed to be in white and point north? I didn't. I also think that I know what "frangible" means now. After masking off the rest of the pad, I painted in the H's.
   |
Here is Dial-Tone helping out. The shelf conveniently had holes in it already. I used the same tape and glue method to hold in the lights, which I got around Halloween for their wicked orange-ness.
   |
Dora who?
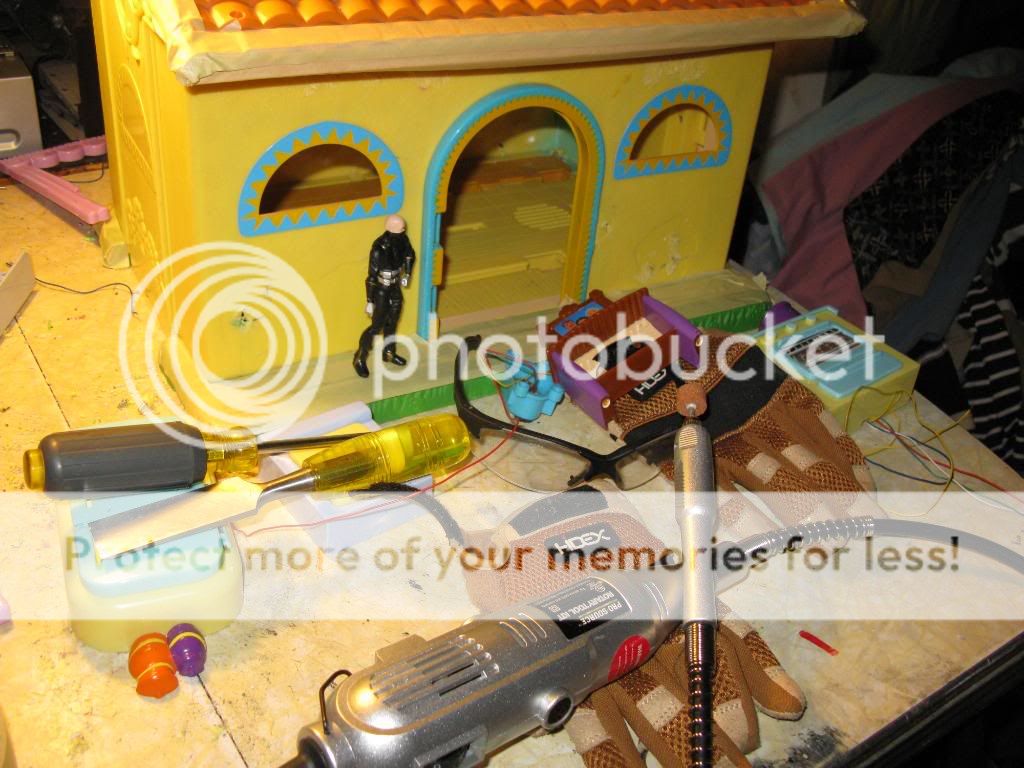
I got this blindingly yellow Dora the Explorer House at a thrift store for 5 bucks. It is actually pretty cool and fairly close to scale on the inside. It had lots of stuff inside, like cabinets, a shower and a full kitchen. It also had annoyingly cheerful and frightfully colorful flower pots, door bells and columns in the front. A Dremel and a screwdriver fixed these problems. I recommend wearing gloves and eye protection when you tear up stuff or use a rotary tool. I would have been blinded at least 3 times during the making of this set, and the gloves saved me from a trip to the emergency room after cutting off a screw, getting distracted and then touching the hot, sharp screw part that was sticking out that also had melted plastic on it. It sliced/melted through the glove and cut me and deposited some plastic under my skin. Without the glove, I am pretty sure I would have needed stitches instead of some ice and ibuprofen. (and beer)
   |
The Wrap up
The rest was just detailing, painting and moving stuff around. I made the fence from screen door material, wooden doweling rods and tiny cable ties. I used almost every set piece I have ever made on this thing and almost 3 bags of the fat glue sticks. I used lots of spray paint and spent many long nights out in the cold garage. I know, poor me. I even went and bought an overhead light for my dark ass garage. It was only 10 bucks at Walmart! I was sure it was going to be at least 40 dollars. Here are some shots of the work area, just for fun. Also, a shot of the whole think with the lights on. I want to space out the "good shots" for awhile.
   |
I don't envy HOW you're gonna do backgrounds for this thing. Be it fotoshopped or whatever.
|
THx for sharing. This set is awesome. F'n awesome. :cool:
|
Requested How-To
I got a request for this, so here goes.
The BAT cage is a storage drawer turned on end with the BAT's in the drawers. I rested lights on top to shine through into the "cells."  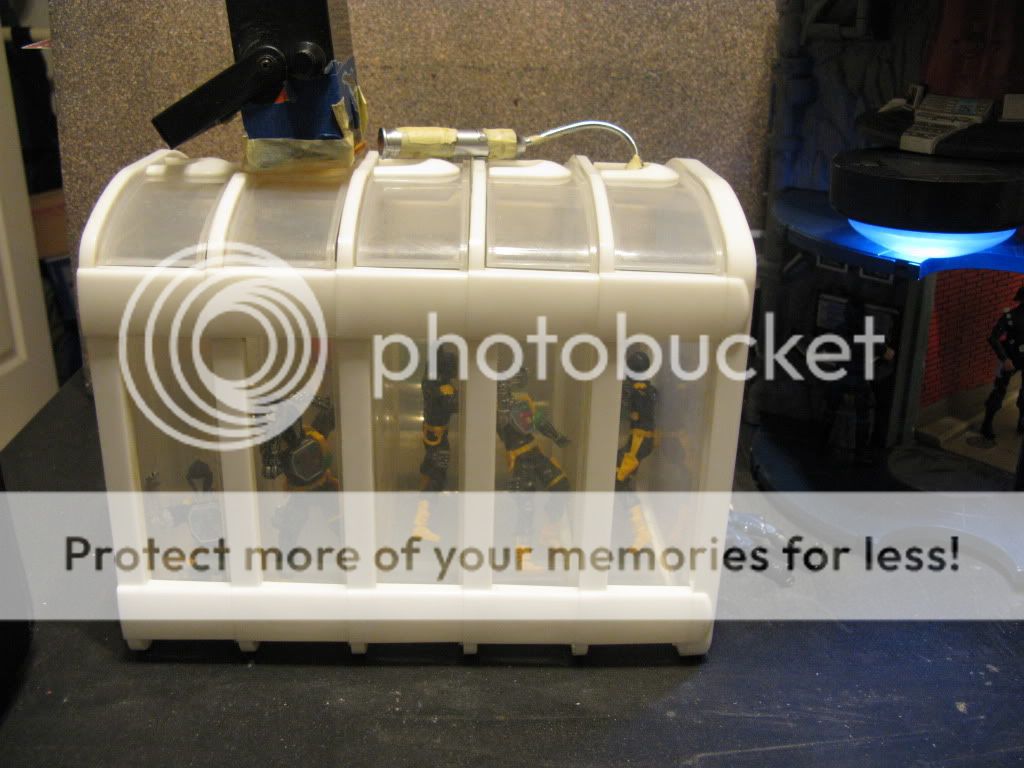 |
Here's a side view. The back wall is a foamboard painted with stone texture spray paint.
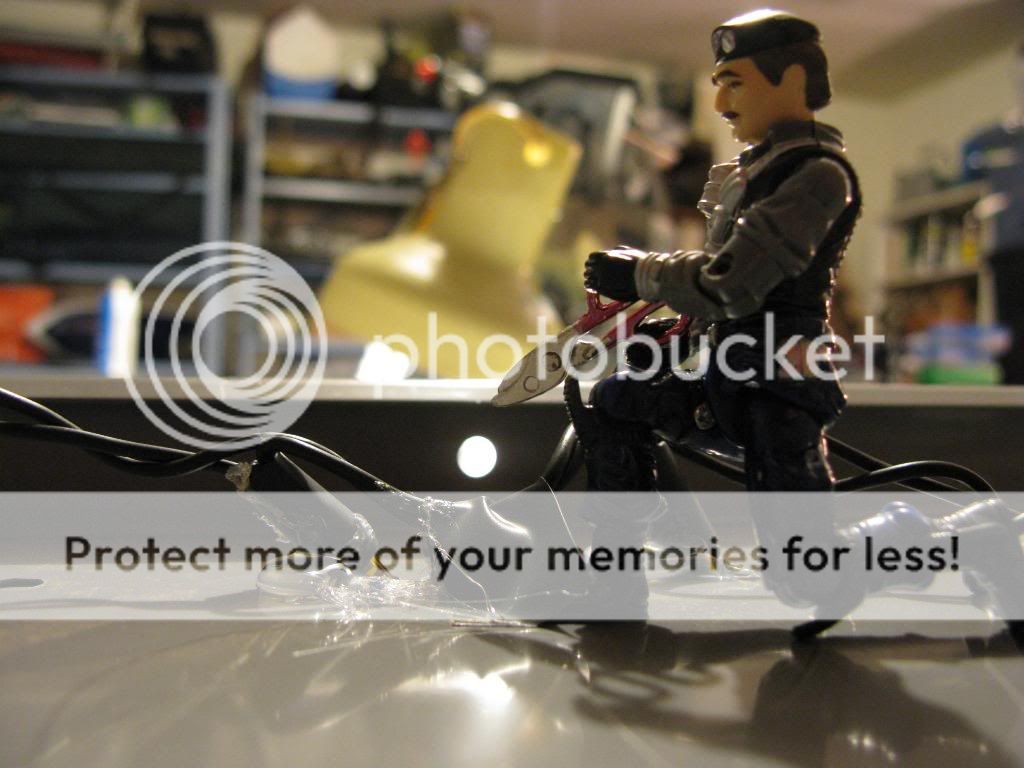
 Here's the trooper through the door and the back of the computer room set piece  Nothing special on this one. I just threw some existing pieces down and took the shot. |
| All times are GMT -7. The time now is 07:12 AM. |
Powered by: vBulletin Version 3.0.6
Copyright ©2000 - 2024, Jelsoft Enterprises Ltd.