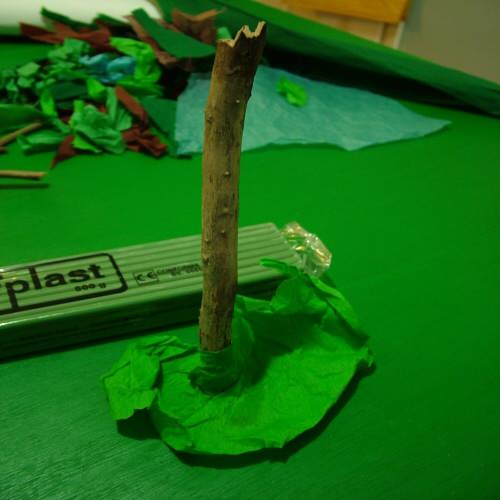
To disguise the plasticine base, I took some crepe paper and pressed it down onto the base, wrapping the paper around the base, which made it stick quite well and covered it up completely.

Filling out the tree required more crepe or tissue paper of various colours and the glue. Using some of the leaves I had cut out previously, I applied some glue onto the surface of the twig and stuck the leaves to the twig, wrapping part of the paper around it, but leaving most of the paper sticking out from the twig. Another method that I used to add growth the the tree was to fold pieces of crepe paper into puffs, stapling the bushy/puffy end and gluing the other end to the twig. Both of these methods worked well for me.

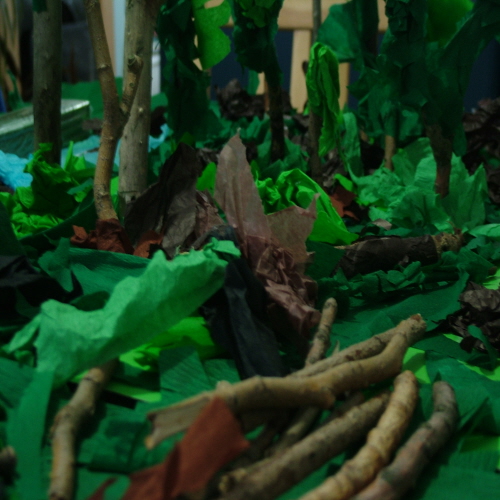
I experimented with different combinations of paper and twigs, colours and styles, until I had a nice collection of trees.

I then positioned the trees across the board, not too scattered, but not too close together either, and added some spare twigs and scrap, off-cut crepe and tissue paper for detail effects.


I also made a vertical backdrop in the same way as the undergrowth board. This ensures that, when photographing, the background blends in with the foreground seamlessly.
This set can be made as large as is needed, particularly if two or more large vehicles are being used in the set. Using separate MDF boards makes it completely modular for disassembly and storage.
I think a big part of this set relies on how it is photographed, at least it does for me. Doing close-ups and medium shots of figures in the forest provides the depth of field, and so the resulting, slightly blurred background adds to the "dense forest" effect, and also makes the set appear larger than it is.